Floating City
Research
My group for this project were given the task of making a floating city out of the city of Kaunas in Lithuania. For the first three weeks we decided to carry out research about the city. We started off by brain storming a number of research points and then spilt them up evenly between the group members.
Below is a table of everyone’s research points:
Rosie
Architecture
Employment/unemployment rate
Traditions/Festivals
Language Divide
Sewage system
Religion
Jordan
Population
Poverty Rates
Crime Rates
Education
Fashion
Politics
Samantha
Culture
Horticulture
Waste
Military
Birth/Death rates
Art community
Phoebe
Wild Life
Local Cuisine
Night Life
History
Water Ways
Currency
I carried out a little bit of extra research as Phoebe was having trouble finding information on Kaunas Night Life. I also carried out some research into the education system in Kaunas and realised no one was researching about the weather so decided to also cover that.
Research Links
http://geology.com/minerals/magnetite.shtml
https://en.wikipedia.org/wiki/Lodestone
https://en.wikipedia.org/wiki/Kaunas
http://www.truelithuania.com/topics/cities-of-lithuania/kaunas-what-to-see-where-to-go-and-what-to-know
https://www.tripadvisor.co.uk/Tourism-g274948-Kaunas_Kaunas_County-Vacations.html
Inspiration & Concepts
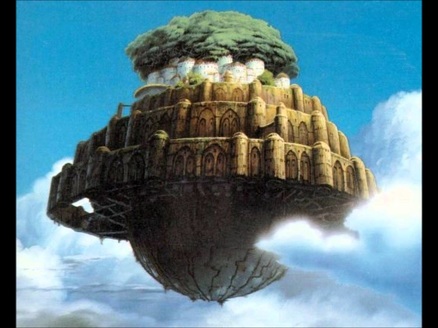
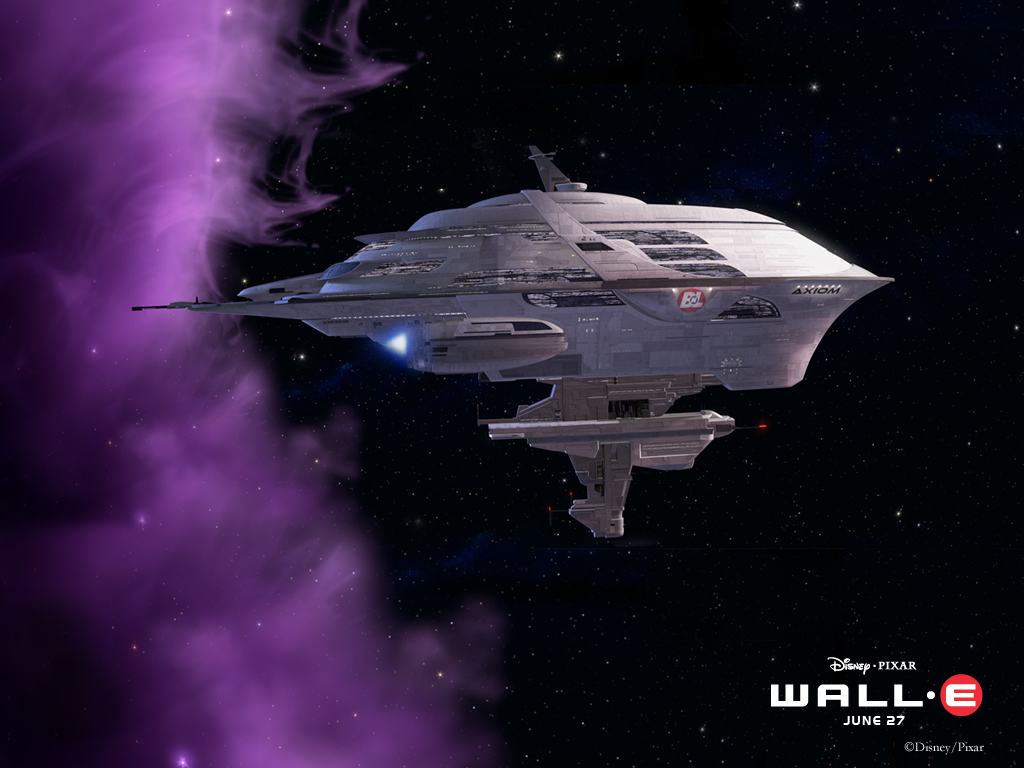
Alongside our research, as a group, we decide to research what type of form our floating world would take. We started looking at movies which revolved around floating worlds such as ‘Avatar’, ‘Castle in the Sky’ and ‘Wall-E’. These movies varied from natural worlds to science/futuristic cityscapes which you can see influenced our early concepts.
|
|
'Castle in the Sky' - 1986 'Wall-E' - 2008
Directed by Hayao Miyazaki Directed by Andrew Stanton
Directed by Hayao Miyazaki Directed by Andrew Stanton
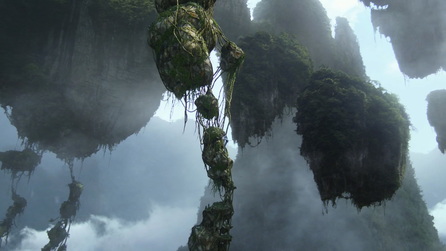
'Avatar' - 2009
Directed by James Cameron
Directed by James Cameron
After having a group meeting we decided that we prefer to go down the futuristic route for our world design and for the storage of the population. This is where we started looking at games such a ‘Density’, where we got the inspiration for the giant orb to contain the world, and ‘Halo’, from which we took inspiration for the worlds technology and uses of curio-tubes to cryogenically freeze the population.
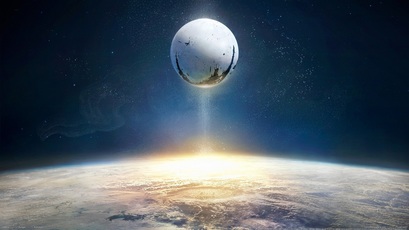
'Destiny' - 2014
Developers - Bungie & High Moon Studios |
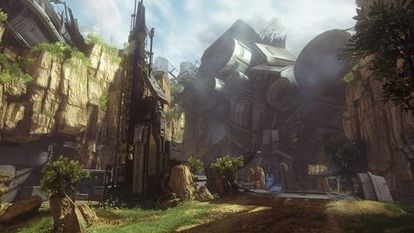
'Halo 4' - 2012
Developer - 343 Industries & Certain Affinity |
During this time, I was carrying out some research on a magnetic rock called Lode Stone. I made the suggestion to the team that we would include this in our project, making a spire like structure out of Lode Stone and using electromagnets in the orb to make it float above the spire. I drew up some concept art drawings to explain more clearly my idea to my team. The team ended up liking this idea and we got to drawing up our concept for this design.
My Concept Art
While working on this design we came across the issue of how we were going to supply the world with electricity. Going along with the ideas of our early concept art where the world was more natural and power by wind/solar power. I made the suggestion that we add flags onto the rings orbiting the orb, we could add onto these flag non-magnetic meshes that would generate power via kinetic energy from the wind. Again the team liked this idea and this resulted in our final world design being produced.
My Teams Concept Art
Research Links
http://halo.wikia.com/wiki/Halo_4
http://www.destructoid.com/review-destiny-the-taken-king-312285.phtml
http://www.imdb.com/title/tt0092067/
http://www.imdb.com/title/tt0910970/?ref_=fn_al_tt_2
http://www.imdb.com/title/tt0499549/?ref_=nv_sr_1
http://halo.wikia.com/wiki/Halo_4
http://www.destructoid.com/review-destiny-the-taken-king-312285.phtml
http://www.imdb.com/title/tt0092067/
http://www.imdb.com/title/tt0910970/?ref_=fn_al_tt_2
http://www.imdb.com/title/tt0499549/?ref_=nv_sr_1
Modelling & Rendering
Once we got our final concept it was time to begin modelling it in Maya. To start this process off we had a group meeting in order to break up the work which I have posted below. This was just used as a guide line as throughout the modelling process we helped each other with any problems that occurred.
Rosie Jordan Samantha Phoebe
Flags Spire Gyroscopes Orb
Smoke Volcano
During this process we ended up coming across a lot of problems, most of which we were able to solve between us without asking lectures, such as the light brightness on the Geodes of which I was able to fix for Samantha and Phoebe was able to help Jordan to add texture to the Spire.
When it came to attaching all the section of Maya together to create the finish world, we ended up coming across multiple issues. The flag I had animated (of which you can see below) would no longer move once we attached them to the Gyroscopes. We couldn’t get around this problem and ended up having to makes slight changes to the world design in order to get around this issue. Another problem we encountered was when we tried to add texture on the spire, triangles sections started to appear that wouldn’t take on the texture. After a long time the team trying to fix this, it resulted in Jordan remaking the Spire which solved the problem.
Phoebe finished this section of the project, adding in camera, moving the perspective on the camera, adding in the statics we had gathered at the beginning of the projects and rendering the final product. Before rendering we met as a team to make sure we were all happy with the end product and that it was all working correctly. Unfortunately, none of us thought to change the rendering frames. Since all the other Maya sections could complete their movement in less frames than the smoke they were unaffected, it was only the smoke that would stop and restart. We discovered this without enough time to correct and render the project, but we did explain what happened and I will be posting a full completed, correctly render version of this project on this blog.
My Maya Modelling/Animating
|
|
Rendered Imagines of Final Piece
Presentation Video
Corrected Video
Presentation
While Phoebe was finish up and waiting for the Maya file to render, Samantha, Jordan and myself worked on the presentation. We selected as a group which statics we had gathered at the beginning of the project that were most relevant to our world. We then added this information in through visual aids such as pie charts and graphs. I also decided to add the research information about the Lode Stones and Electromagnets in order to explain how our city was floating above the spire.
The team rehearsed the presentation a number of times before the final presentation day. However, we met early on the morning of hand in to make changes to the talking patterns as Samantha had contacted us to tell us she was ill. We also used this time to make sure we all agreed on what was being presented.
Team Blogs
- Phoebe Long - https://phoebelonganimations.wordpress.com/
- Samantha Dawn Quigley - https://squigleyanimationsemestertwo.wordpress.com/
- Jordan Baxter - https://jordanbaxterblog.wordpress.com/
Face Modelling
Research
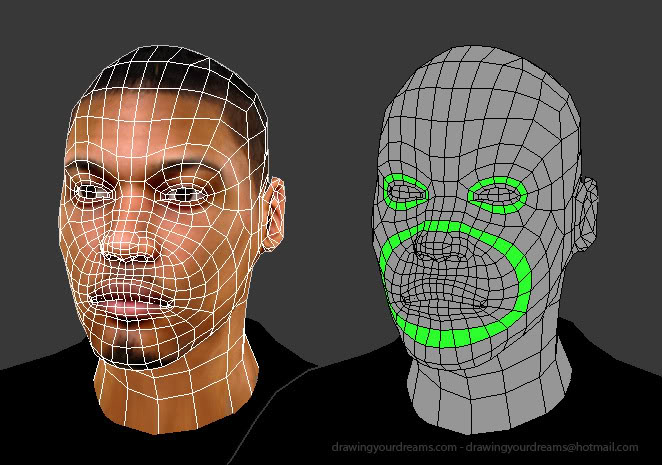
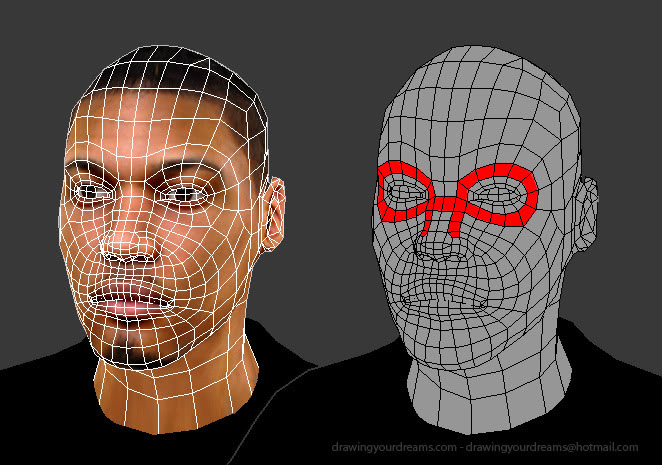
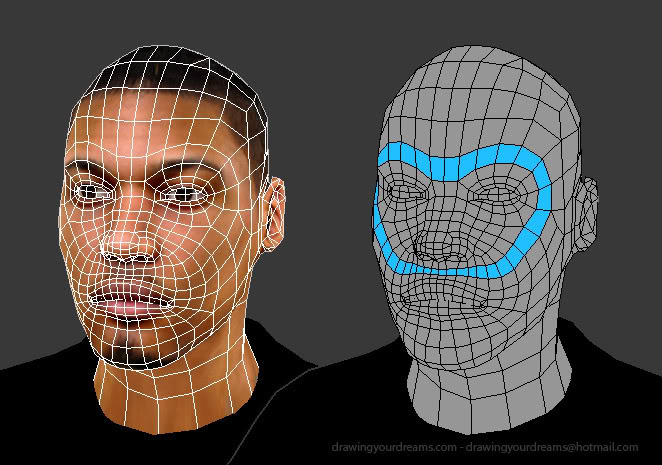
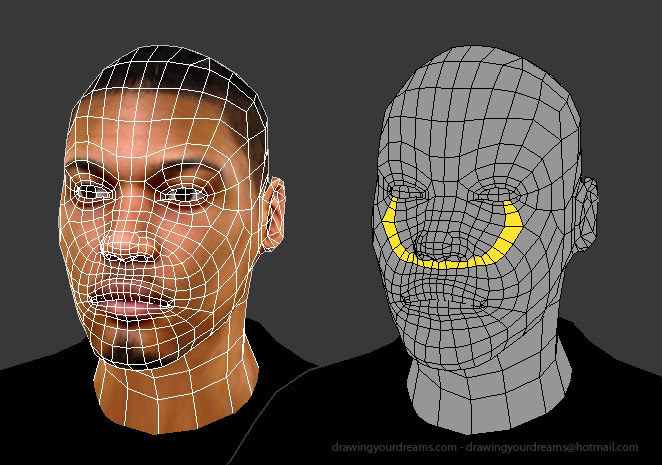
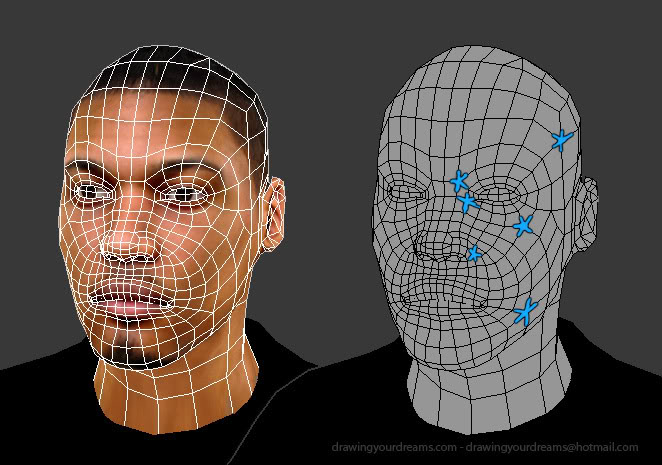
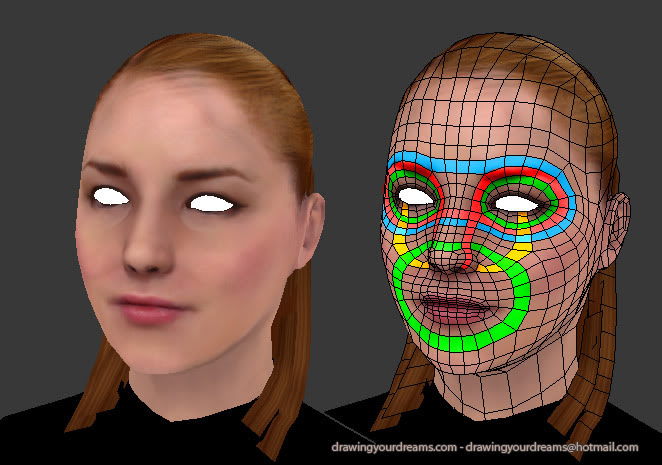
For this piece of work, we were given the task of modelling our own faces in Maya with correct facial topology. My first plan of action was to research facial topology. During this stage I came across many webpages, but the most useful was a Face Topology Break Down written by Sean Vangorder published on the website "Polycount". This highlighted the areas you needed to be most careful about and I used this as a guide while I modelled my own face.
For this piece of work, we were given the task of modelling our own faces in Maya with correct facial topology. My first plan of action was to research facial topology. During this stage I came across many webpages, but the most useful was a Face Topology Break Down written by Sean Vangorder published on the website "Polycount". This highlighted the areas you needed to be most careful about and I used this as a guide while I modelled my own face.
Research Links
http://polycount.com/discussion/80005/face-topology-breakdown-guide
http://www.thundercloud-studio.com/tc-tutorial/modeling-guide-realistic-human-head/
http://polycount.com/discussion/80005/face-topology-breakdown-guide
http://www.thundercloud-studio.com/tc-tutorial/modeling-guide-realistic-human-head/
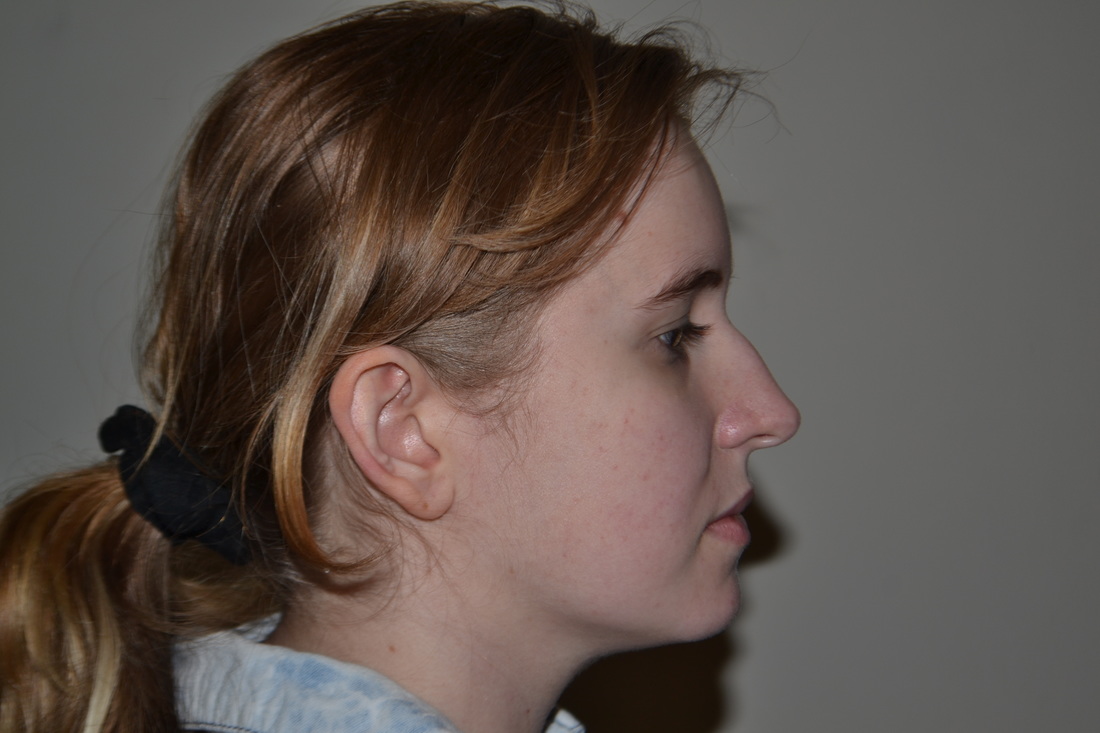
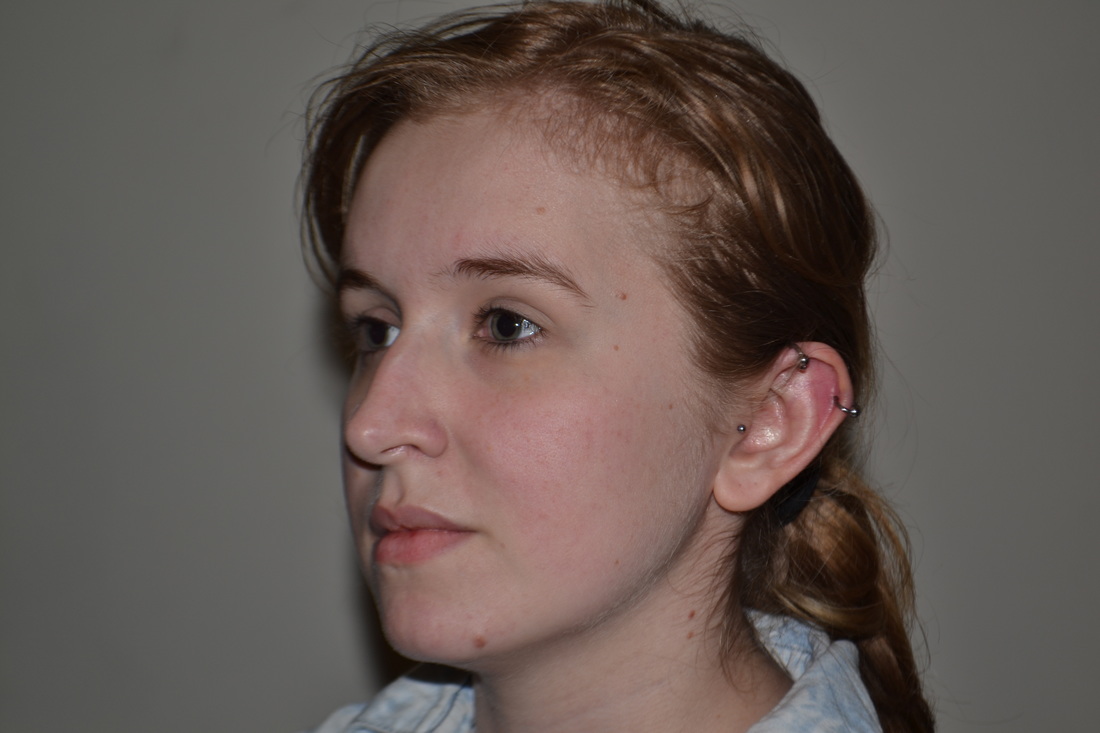
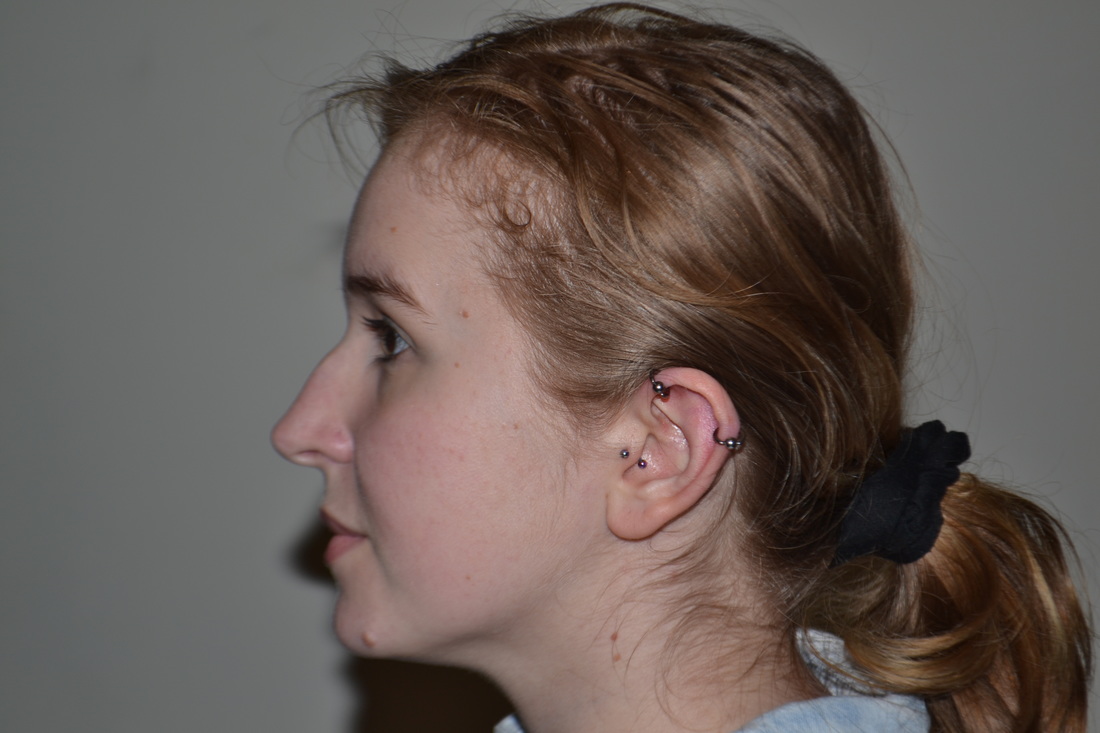
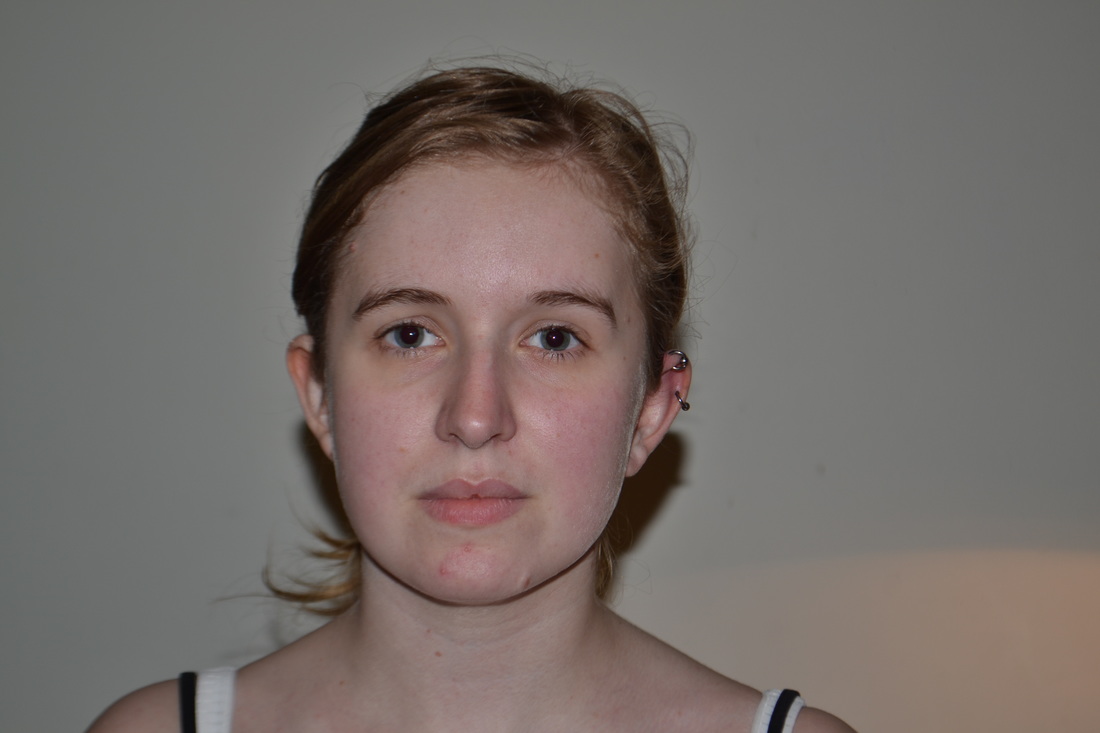
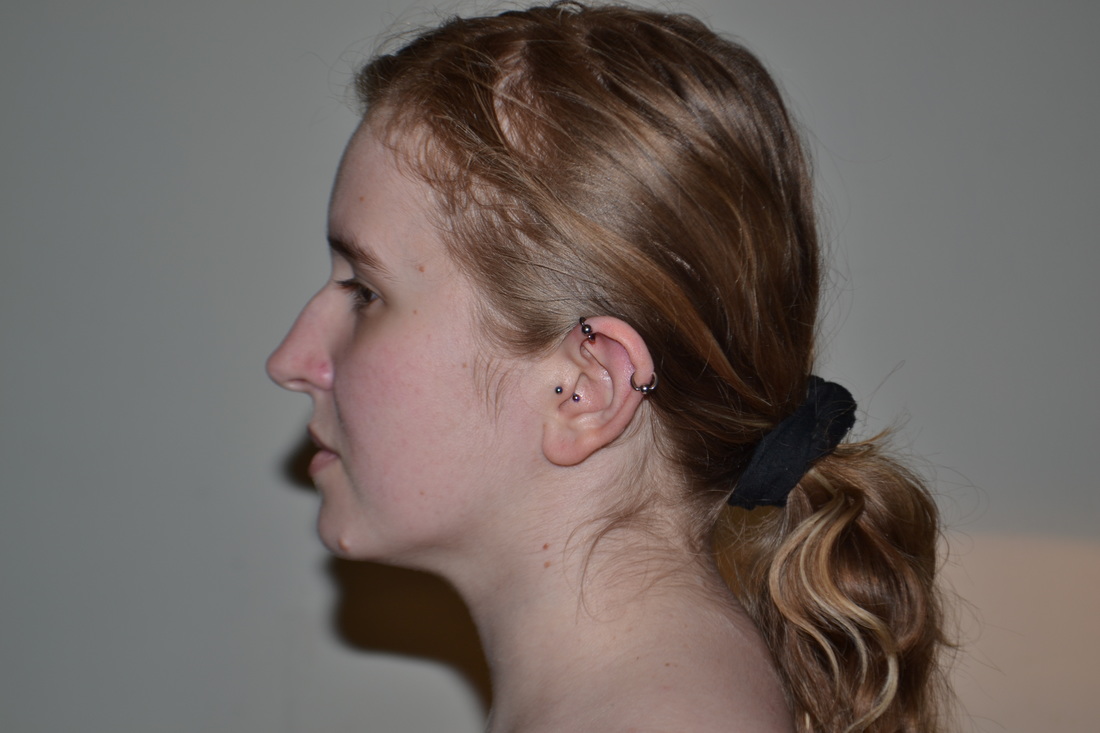
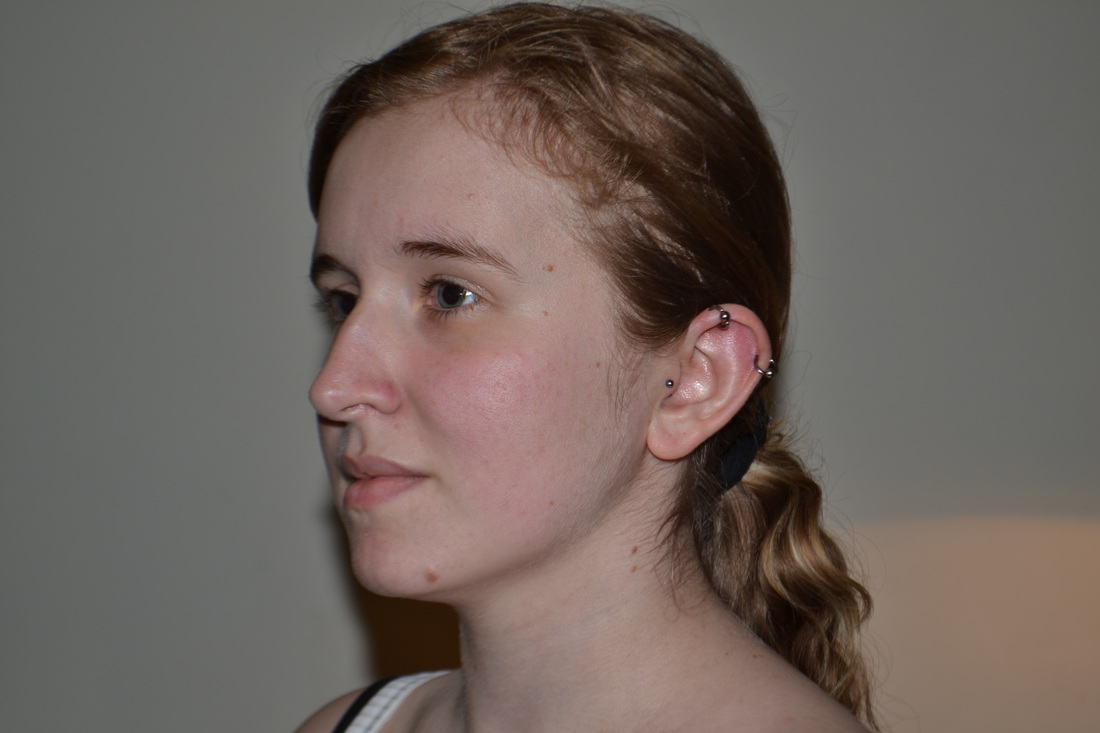
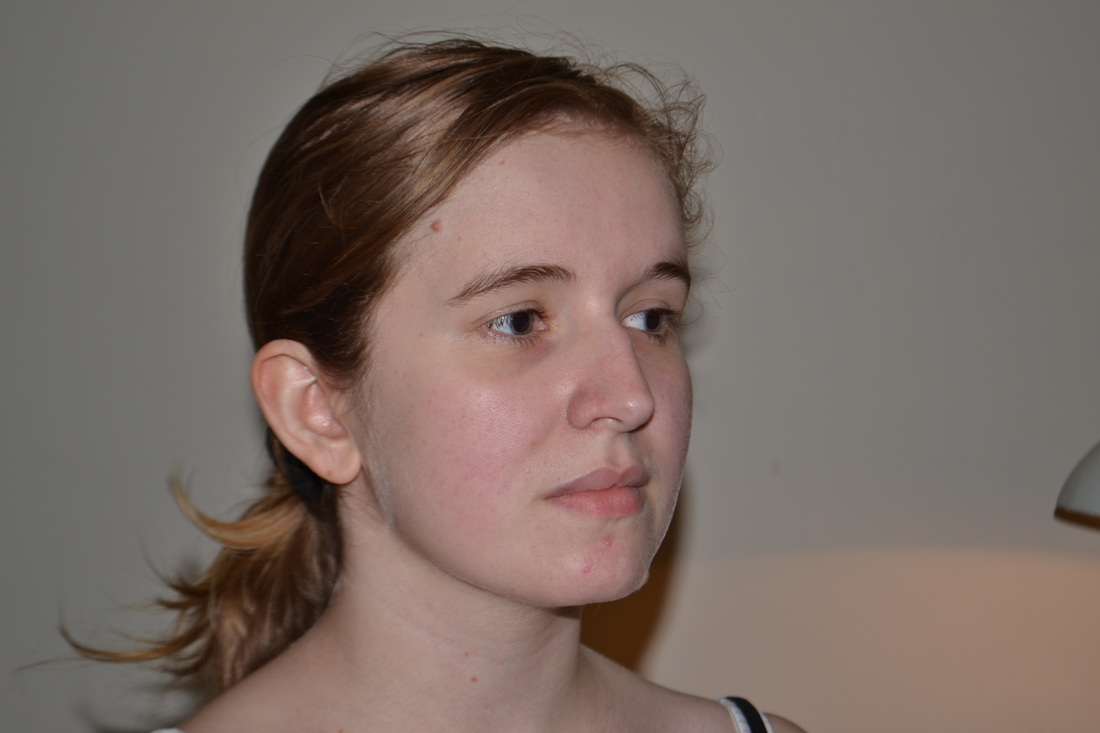
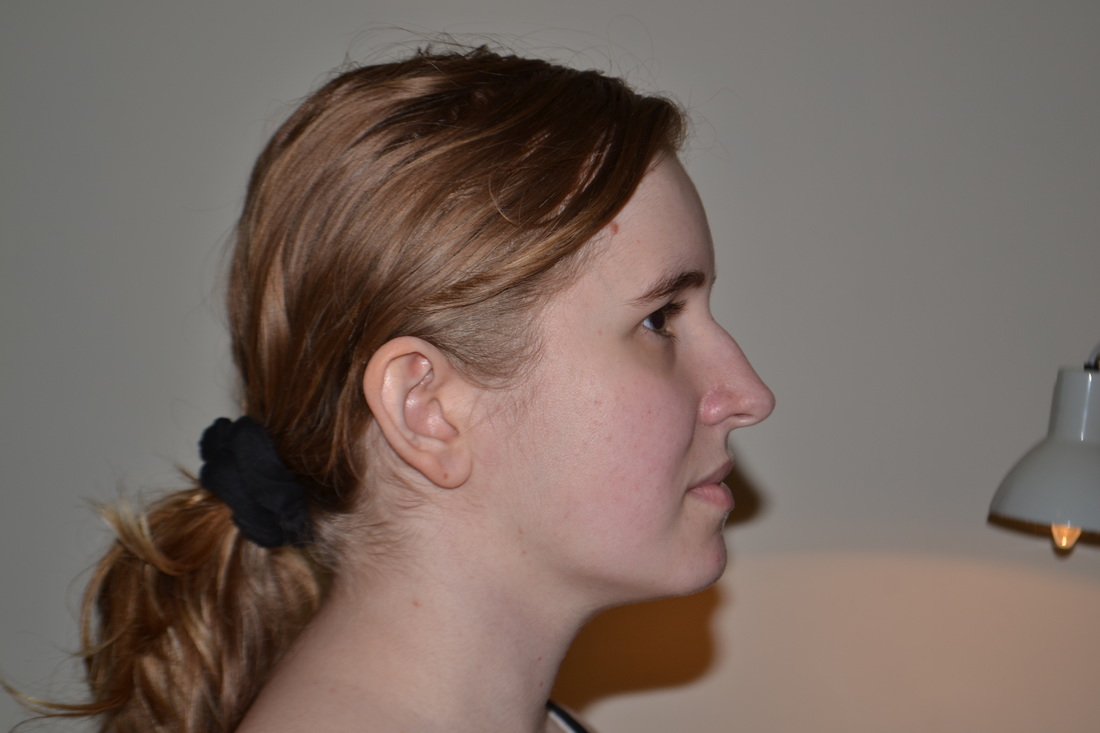
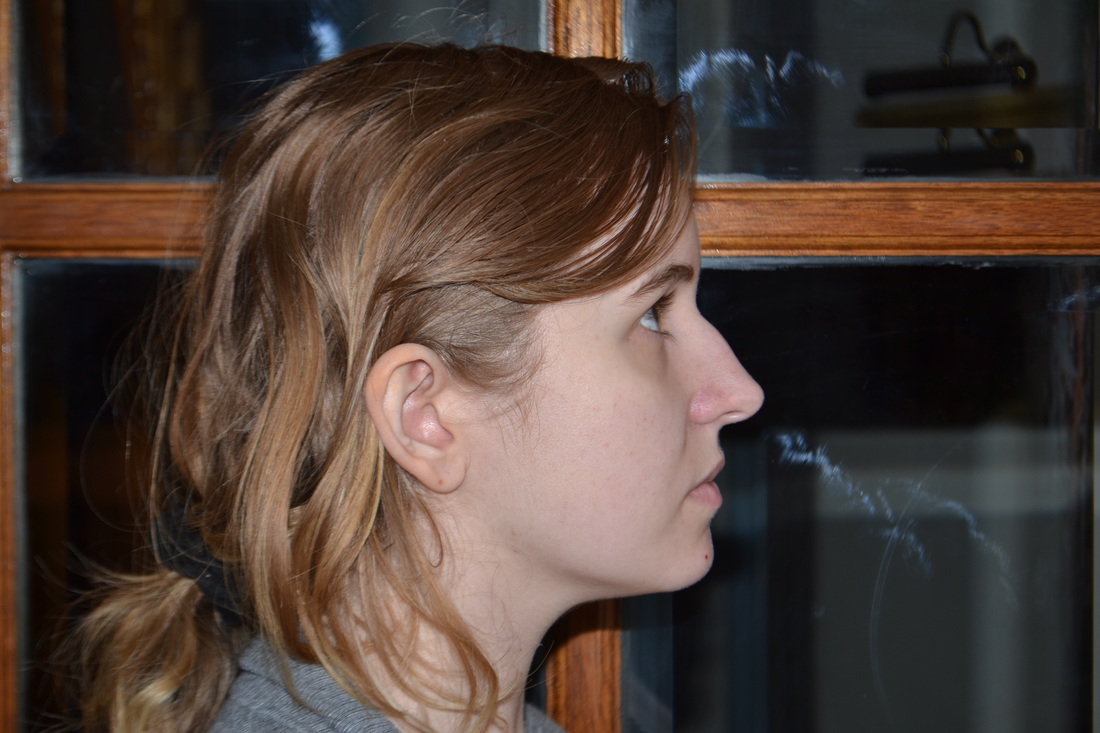
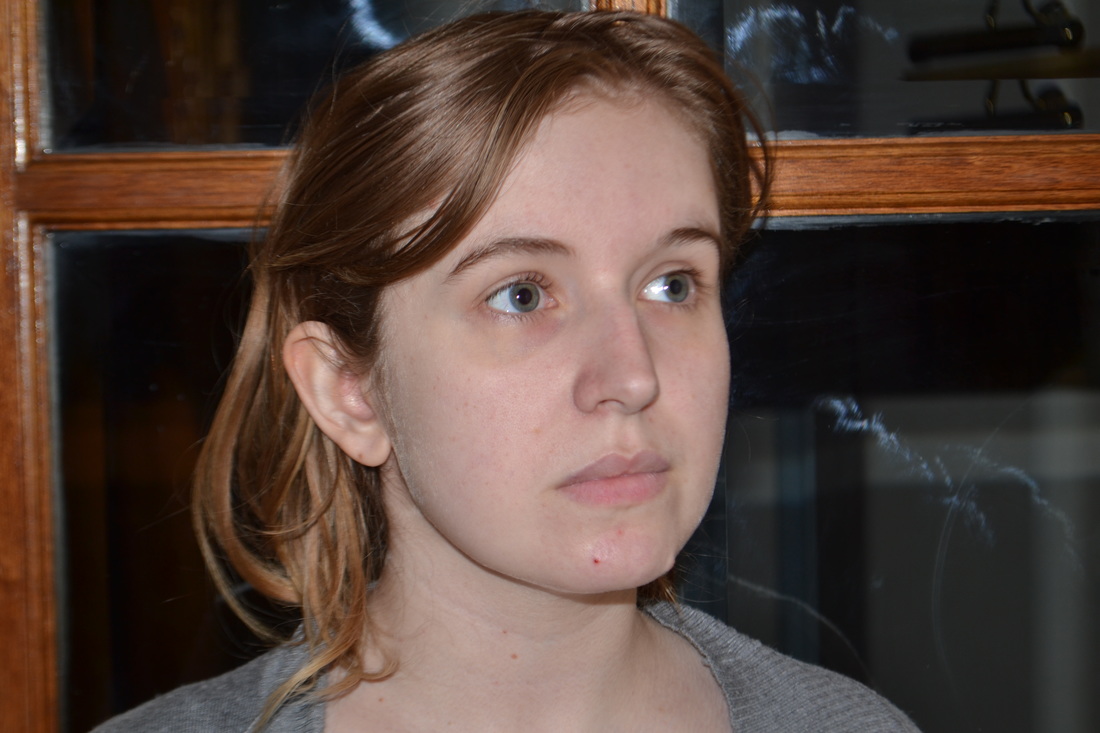
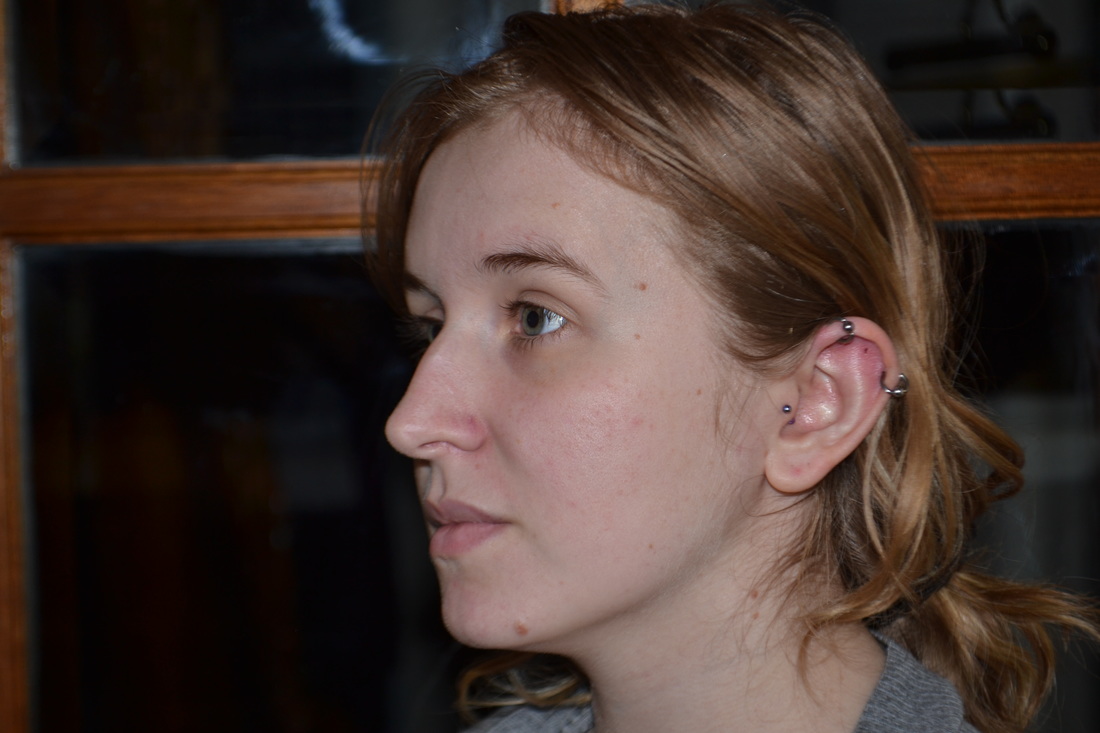
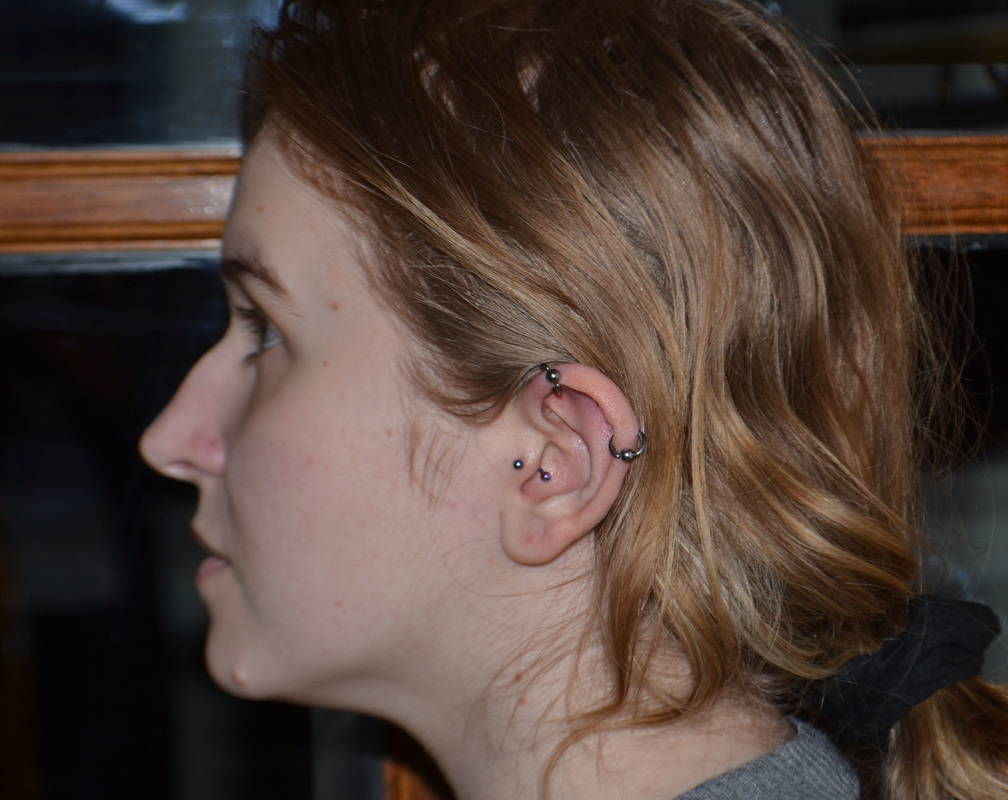
Reference Photos
I had a lot of problems getting reference photos that were suitable for this project, due to the fact I tilt my head subconsciously to the right. This would put the centre line off in the photos which made it very difficult to apply basic topology, I would only register the tilt when I was modelling the basic outline for the eyes and nose. This resulted in me restarting and taking new reference photographs a total of three times. Although this was frustrating to have to deal with, in the end it allowed me to understand in greater detail how the topology of the eyes and nose worked.
Take 1

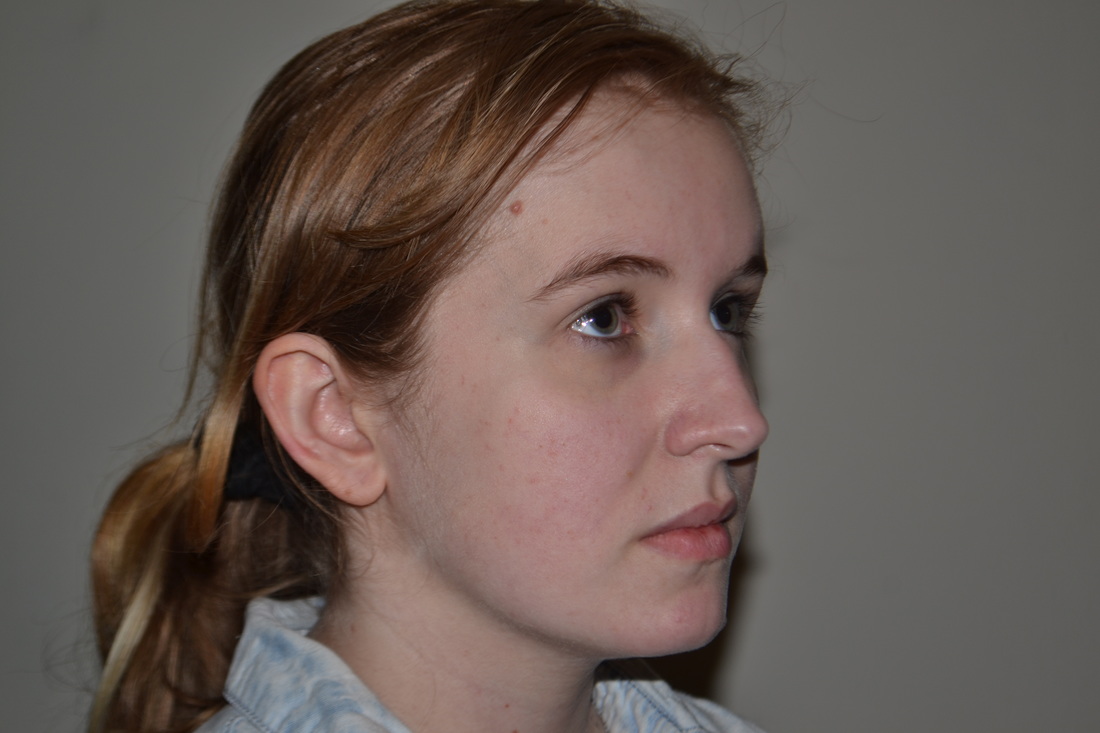
Take 2
Take 3

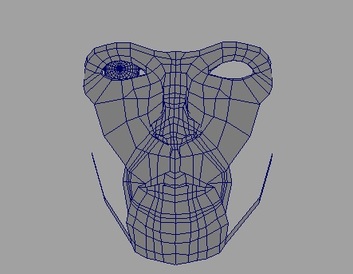
Face Modelling
I struggled a lot with this piece of coursework, having to restart an additional time to my already three restarts . The reason for this was due to myself feeling the topology was not clear enough or well structured. Although this was once again frustrating as it had taken me a long time to get to this stage, I found the second time around I was a little more confident and was able to get to the same stage in half the time it took me before and I feel like I was able to achieve a much more well structured and clear topology.
Face Modelling Attempt 3
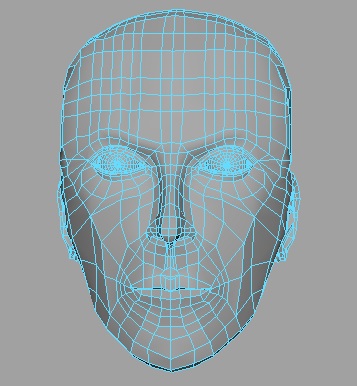
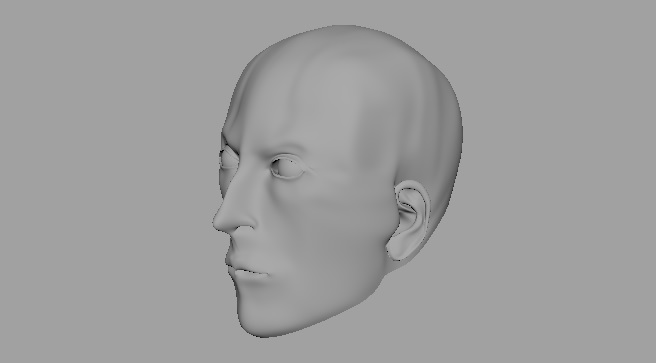
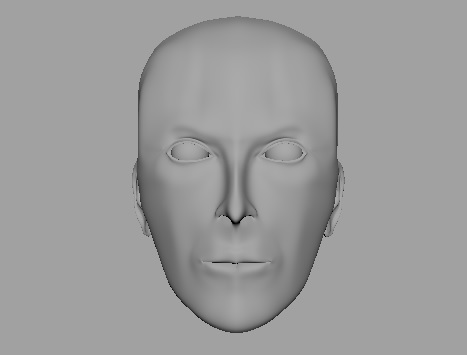
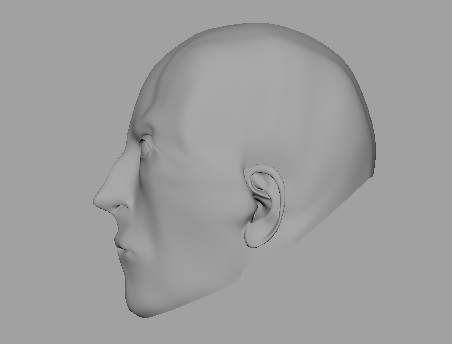
My Final Face Model Topology

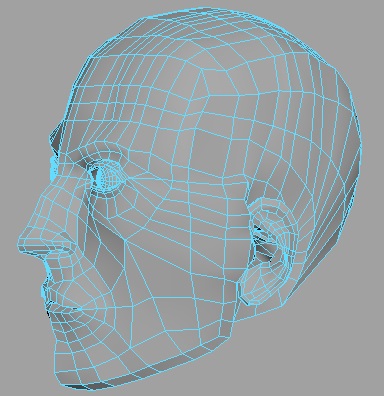
My Final Face Model (Smooth)
Module Reflection
I found this module of “Imagine and Date Visualization” both extremely challenging and interesting. A lot of research had to be carried out before starting each section of coursework. This proved challenging with the first piece of course work, which was to make a floating city of the city of Kaunas situated in Lithuania. Some of the information we were searching for was very difficult to find and some other were unrecorded. Over-all I enjoyed this piece of coursework, the work was easily spilt up between team members and gave us the opportunity to experiment with Maya. I managed to work with new areas of Maya such a nCloths to create the flags and nParticles to create the smoke. There was also a lot of support from lectures, as when I was struggling with a section of the modelling he would either send me a tutorial or talk through it with my group. The section of work I found most challenging in this module was the 3D face module, I ended up having to restart this task many times. However, I received great support from lectures when I asked for help.
I enjoyed this module a lot as I feel like it was well taught and the support from the lectures was great. It allowed me to experiment with Maya, learning a lot of new things about this software and helped build my confidence using Maya. I have learned that it’s very important to have the camera set on a tripod at a fixed distance from the subject when photographing a portrait for reference images for a three dimensional face modelling exercise.
I enjoyed this module a lot as I feel like it was well taught and the support from the lectures was great. It allowed me to experiment with Maya, learning a lot of new things about this software and helped build my confidence using Maya. I have learned that it’s very important to have the camera set on a tripod at a fixed distance from the subject when photographing a portrait for reference images for a three dimensional face modelling exercise.
